How to Take Good Product Photos
So I know the news is a little old for a few but I've opened up an Etsy shop. (Update Edit: for now I'm focusing 100% on my art & photography) It has been a long time in the making, or really contemplating. I plan on selling prints in smaller sizes then what my Society6 shop has available. But for the time being I made up two fun accessories for those of you that are also photographers. Anyway, this post isn't as much about my shop or products as it is about taking good product shots. I've worked professionally as a photographer shooting products in a studio setting and out and wanted to share a few tips. Most of my skills have come through observation and lots of practice. The few tips I'm about to share can be applied not only for selling on Etsy or eBay but also for your own portfolio or personal online shop.
Keep in mind that these are tips not rules to follow by.
Tips
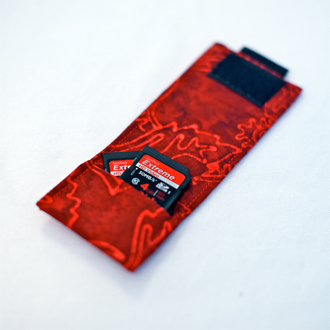
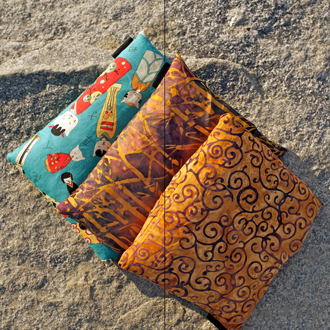
1. Contrast - Pick a surface and background that contrasts with your item. For example a white background for most items works well when shooting inside. Outside, pick a desaturated surface and matching background for most brightly colored things.
2. Crop - Crop your photos with the product you are featuring in mind. You want to keep it as the focus. Generally, if your item is interacting with other objects crop the photo so that it is towards the center of your image.

3. Square - Most of my images are taken in a landscape format. It's what I'm most comfortable with when shooting. When editing crop your photos so that they're square. Etsy has a fixed width for images but allows for a much longer height. Your item will take up more of the screen if you crop it as a square.

4. Color - I cannot stress the importance of color correction and accuracy. When selling something your photo is the only connection the potential buyer has to your item.
When shooting outside be sure to set your camera's white balance settings to the appropriate one. Also take along a white balance card or piece of white printers paper and photograph it next your product. This will help you when editing at home. When shooting inside pick a room with a large window and shoot when the sun is strongest. Natural sunlight will always be better then yellow incandescent lights. I usually like to keep my product with me or near my desk when editing. It helps me to stay consistent with the original colors and not oversaturate.

5. Sharpen - Sharpen your images before you are finished. And no, I don't mean over-sharpen. Just a Filter/Sharpen in Photoshop before saving will help give you that crisp finished feel.
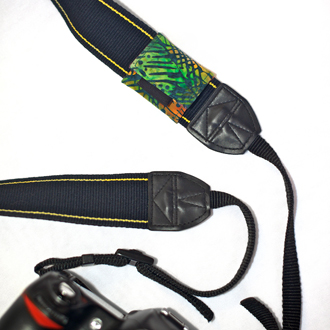
6. Model - Show us what your item is meant to do or what it looks like on. Having a roommate or spouse comes in handy here. And if you don't have any, inanimate objects are ok too.
I find the most appealing model shots to be the ones that don't include the models face. I don't mean cropping her in half but tastefully photographing only a small portion of the person. Remember, the item is the focus, not the face. These shots are to help your buyers imagine what it would be like to wear it themselves.
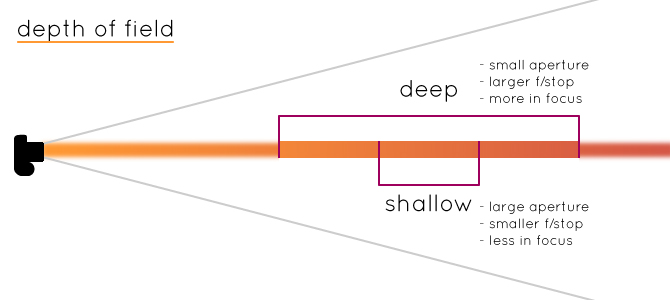
7. Depth of Field - When shooting products, especially small detailed ones, it is best to use a shallow depth of field. This creates a very crisp and sharp in focus product with a minimally distracting, blurry background. To achieve this visual effect you will need to change camera settings before you shoot. For most point and shoot cameras shoot with the macro setting (usually the "plant" icon). For those with a DSLR adjust to a smaller f/stop. The smaller your f/stop the less things will be in focus. Opposite, the larger your f/stop the more of your picture will be in focus. Just remember large f/stop = large focused area, small f/stop = small area in focus. Let me use a diagram in case you're still unclear.